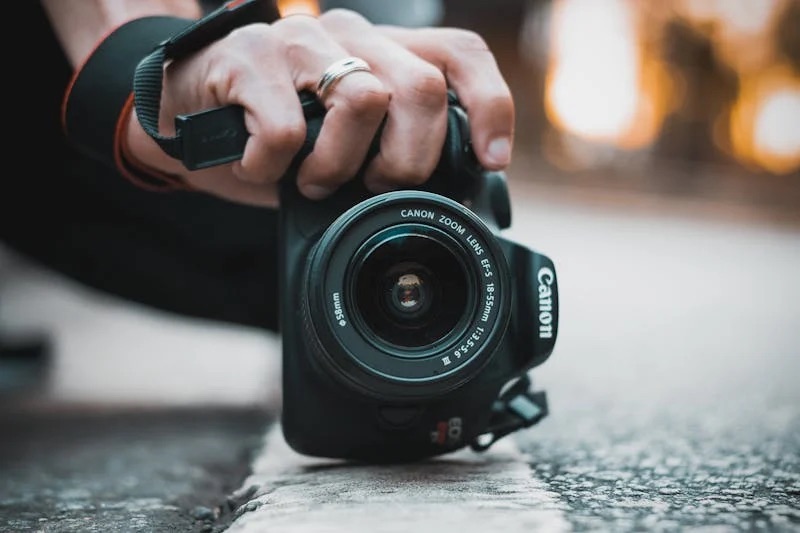
Whether you’ve just unboxed your very first DSLR or you’ve been tinkering with one for a while, mastering your camera can feel like decoding an ancient language. This blog post looks at four technical aspects of DSLR photography that everyone should know. This is a great place to start if you’re worried you’ll never get the hang of all the settings, buttons and dials.
A DSLR, or Digital Single-Lens Reflex camera, incorporates the mechanics of a single-lens reflex camera with a digital imaging sensor, as opposed to photographic film. This type of camera is preferred by professional photographers and photography enthusiasts, because it’s versatile, has high image quality, and it’s speedy to take and process photos.
Despite the rise of smartphone photography, the sale of DSLR cameras remains steady. For some, taking great photos on their smartphone, and seeing all the great images out there on Instagram and other platforms, has given them a taste for learning more about photography. A lot of buyers say a DSLR camera is an ideal blend between ‘proper’ and digitalized photography. And once you have one – plus key kit like a robust camera bag, a camera strap and perhaps a tripod – it should pretty much last you for life.
If you’re in the process of finding your way around a DSLR, what are the main technical things you need to know about?
1. Understanding ISO: Your Camera’s Sensitivity to Light
Think of ISO as your camera’s sensitivity to light. Much like how our eyes adjust in bright or dim environments, adjusting the ISO setting helps your camera see better in various lighting conditions. A lower ISO number (like 100 or 200) means the sensor is less sensitive to light, perfect for those bright, sunny days. On the flip side, a higher ISO (such as 1600 or 3200) makes your camera sensor more sensitive to light, which is a real game-changer in low-light situations.
But here’s the catch – while cranking up the ISO allows you to capture images in darker settings, it also introduces more ‘noise’ or grain into your pictures, which can affect their clarity. It’s all about finding the right balance. Think of adjusting ISO like adjusting the volume on your music player; you want it loud enough to hear the beat clearly but not so loud that it starts to distort. Use ISO to give your photos the perfect light without sacrificing quality, and remember, practice makes perfect.
2. Aperture: The Eye of Your Camera
Just as your pupils widen or narrow to let in the perfect amount of light, the aperture in your DSLR does much the same thing for every shot you take. The aperture is basically the ability to control the amount of light that hits the sensor. Opening up the aperture (a lower f-number, like f/1.8) floods your sensor with light, making it work well in low-light situations and creating that beautiful blurry background. On the other hand, narrowing the aperture (a higher f-number, like f/16) allows less light in, which is ideal for landscapes by bringing everything into crisp focus.
But it’s not just about light; aperture affects the depth of field too—how much of your photo is in sharp focus. A wide aperture (that’s a lower f-number) gives you a shallow depth of field, perfect for making your subject stand out against a soft background. A narrow aperture keeps more of the scene sharply in focus, which is great when you want to capture every detail from the foreground to the horizon. It can totally transform the mood and feel of your photos. Experiment with different settings to see how aperture shapes your images, and remember, finding your own style is all part of the fun.
3. Shutter Speed: Capturing the Moment
Imagine shutter speed as the heartbeat of your camera—it’s what captures the freeze-frame of a moment, or conversely, blurs motion into a beautiful sweep of time. When you press the shutter button, that click you hear is the shutter opening and closing, and how fast or slow this happens is your shutter speed. Fast shutter speeds (like 1/500th of a second) are your best friends for freezing action, perfect for capturing that decisive moment in sports or a bird in mid-flight. Slow shutter speeds (like 2 seconds) allow more light in and can transform moving water into a silky veil.
But here’s something we chat about around the photography watercooler – playing with shutter speed isn’t just about clarity or blur; it’s an artistic choice. It’s the difference between capturing a child’s expression in sharp relief or allowing the whirl of a carousel to envelop them in a hug of motion. Think of it as painting with light and time. Every photograph tells a story, and your shutter speed determines its pace. Go ahead, experiment with it. Start seeing not just with your eyes, but with your heart. What story do you want to tell?
4. White Balance: The Art of True Colors
You might have noticed how some photos have a warm, golden glow, while others have a cool, blue tint. That’s not necessarily the actual light when the photo was taken. It is usually something to do with the white balance. This setting adjusts the colors in your image so they look more natural, matching what our eyes see when we look at the scene. Just like how we prefer certain lighting when reading or relaxing, setting the right white balance can transform the feel of your photos.
Cameras are smart, but sometimes they get confused, especially under artificial lighting, making your images look too orange or too blue. That’s where you come in. By manually adjusting the white balance, you bring harmony to the colors, ensuring that the white in your photo actually looks white, not a shade of yellow or blue.
Mastering these key settings in your DSLR empowers you to take stunning photographs that truly reflect your artistic vision and style.