This short guide is designed for seniors just getting started with their portfolios. Once you've taken these initial steps, you will have a foundation to build from. If you've taken these steps already or are interested in exploring advanced customization options, you might consult the step-by-step user guides designed by CampusPress.
Inspiration
Want to take a look at a few examples before you get started? Here are portfolios from recent alumni:
- Cognitive Scientist '20
- Earth Scientist '21
- Engineer '21
- Studio Art, Sociology, NAS '21
- QSS '20
- Musician/Engineer, '18
- Geographer, '19
Create a site
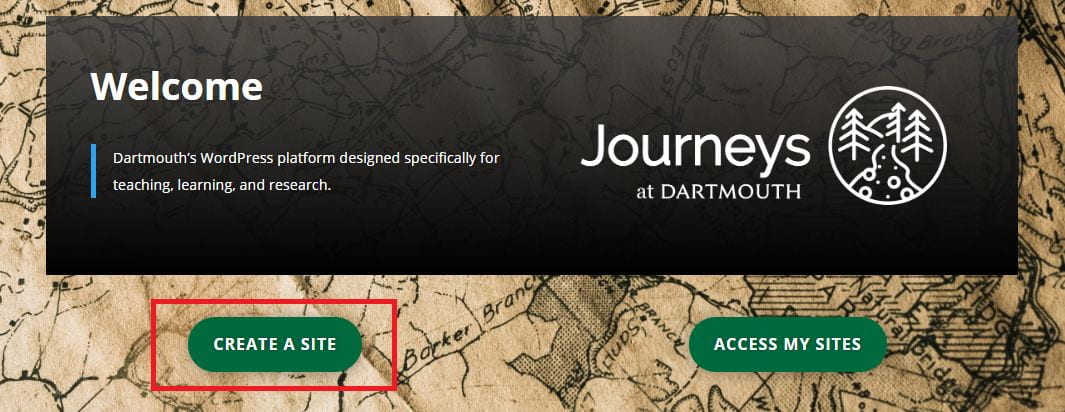
If you don't already have a portfolio, you can create a new one anytime. To generate a new site, go to journeys.dartmouth.edu and select "Create a Site." The Journeys menu will take you through the initial steps.
There's only one choice you make here that you can't change later: the URL of your site. The Journeys site-creation tool calls that a "Site Name."

Every URL will start with "journeys.dartmouth.edu/"; what follows is your choice. Take some time to think about that:
- Will the site be a holistic, personal portfolio? Then consider creating a url that is a version of your name. ...edu/JaneZDoe
- Do you want the site to pair with an an already existing social media identity you maintain? Consider designing the url to mimic that. ...edu/JaneBuildsBots
- Will the site exhibit a specialized part of your self, a specific domain or professional identity you mean to create? Consider making that a part of the url. ...edu/JaneDoeEngineer
While a URL that has a word like "engineer" in it might eventually allow you to attract more web traffic to your site, a URL that's just your name is more flexible.
Visibility Settings: Keep in mind that you can update visibility settings at will. You can make it private to prevent anyone from seeing it. Or invite search engines to include it on public search results. We recommend you start by requiring a Dartmouth log-in; that will restrict outsiders but will make it easy to share working drafts of the site with peers or advisers.
Create a homepage
We recommend you start by setting a static homepage on your site. Most default templates will display your most recent posts on your homepage.
Even if it's temporary, it's helpful to start by describing yourself or the purpose of your portfolio on a homepage before you begin building additional content. A homepage should be relatively short and easy to skim. Later, you might decide to create an "About Me" page that offers more detail about your background, aspirations, or expertise.
How do you want to represent yourself? An aspiring professional? An emerging researcher? A person with varied interests? A skilled technician or talented writer? You might be all of those things, but you get to choose what to emphasize and how you tell your story. Adopting a tentative framework early in your design process will make it easier to make choices about your emerging site structure.
Choose artifacts to curate
A good portfolio does more than describe experiences, it also presents artifacts that stand in for those experiences. If you have specific projects you are particularly proud of, choosing artifacts might be easy:
- make pdfs of your favorite essays;
- get high-resolution photographs of your best poster presentation;
- find your favorite video clips from a performance;
- make a gif that shows your code in action.
If your work has been less focused on major projects, this might be a little harder. But you can still find ways to put your descriptions of your experience in dialogue with exhibited material:
- If you worked in a research lab, you could ask permission to use images from the lab, the lab logo (if it has one), or a photo of the primary researcher (ask permission!). You could also link to the lab's web pages or quote from those pages to describe the project you contributed to.
- If you worked as an intern for an organization, you could quote from their website or ask permission to use their logo; you could include a photograph of you and coworkers; perhaps you could even link to or embed a video produced by the organization that's related to the work you did.
Emphasize expertise or experiences
You have lots of options for how and where to exhibit these artifacts. Consider these two different approaches:
- Foreground the quality, ability, or expertise you want to showcase. In this approach, you would create pages named after those abilities:
- sound engineering
- demographic analysis
- poetry
- tutoring
- piano
Each page would describe how you've grown in that domain or explain what you've done, embedding or linking to multiple artifact along the way.
- Foreground the projects. In this approach, you would create pages dedicated to specific projects or artifacts:
- Senior thesis
- Conference presentations
- Concerts
- Organic farm internship
Each page would describe what the project was and explains notable challenges or successes. It might even make explicit claims about what the project says about you.
Try out one of these approaches, and see what feels right. Then step back and think about how you can improve it.
Embedding media
A few tips on incorporating artifacts elegantly on your pages or posts.
- Data-intensive objects like high-resolution videos may be better hosted on Youtube, Vimeo, or another video service. You can simply paste the URL from a video in the WordPress editing view to automatically embed it into your page or post.
- Journeys has a plugin tool to make it possible to load a view of many file types, including pdfs. It's called Embed Any Document. The plugin only works if the site has a visibility setting open to the public.
- If you have many images to show, you might consider using the MetaSlider plugin, which allows you to make interactive galleries.
- If you're having trouble embedding a specific kind of content, try this user guide from CampusPress.
Build a Menu
You want your site to have a clear and easy-to-use navigation system. The look and feel of your menu will change pretty significantly, depending on the WordPress theme you adopt. But the core design logic - what the menu items are called, what is subordinate to what - will stay with you as you move across themes.
Here's a step-by-step guide from CampusPress on building a custom menu. We've also created a short video introduction to menu editing: WordPress Basics: Menus.
Etc.
You'll find dozens of guides from CampusPress on how to accomplish goals in the WordPress system. If you're trying to solve a problem on your own, you might start by looking there for answers to questions. Some good places to start:
- The difference between a page and a post in WordPress.
- How to build a custom menu.
- How to change the look and feel of your site with themes.
- How to select a static homepage.
- How to add a custom header image.
- How to change site visibility settings.
During academic terms, DartWrite will offer live, one-on-one support for Seniors who have signed up for the Senior Portfolio Project. Contact us if you want to request a meeting (dartwrite@dartmouth.edu).